AI Interior Design for Lamps and Lighting
There is a specific moment where people lose trust in AI interior design, and it is almost always about lighting. The render looks warm and layered and beautiful, they buy the lamp, and the room stays dim. Nothing was faked exactly. The render was just answering a different question from the one being asked.
The distinction worth holding onto is this. A rendering engine simulates photons: it knows the fitting's output, bounces it around the geometry, and produces an image as the result. An image model works the other way around. It has seen an enormous number of photographs of lit rooms and has learned what "lit room" looks like, so it paints that appearance straight onto your photo. The light in the picture was never computed. It was drawn.
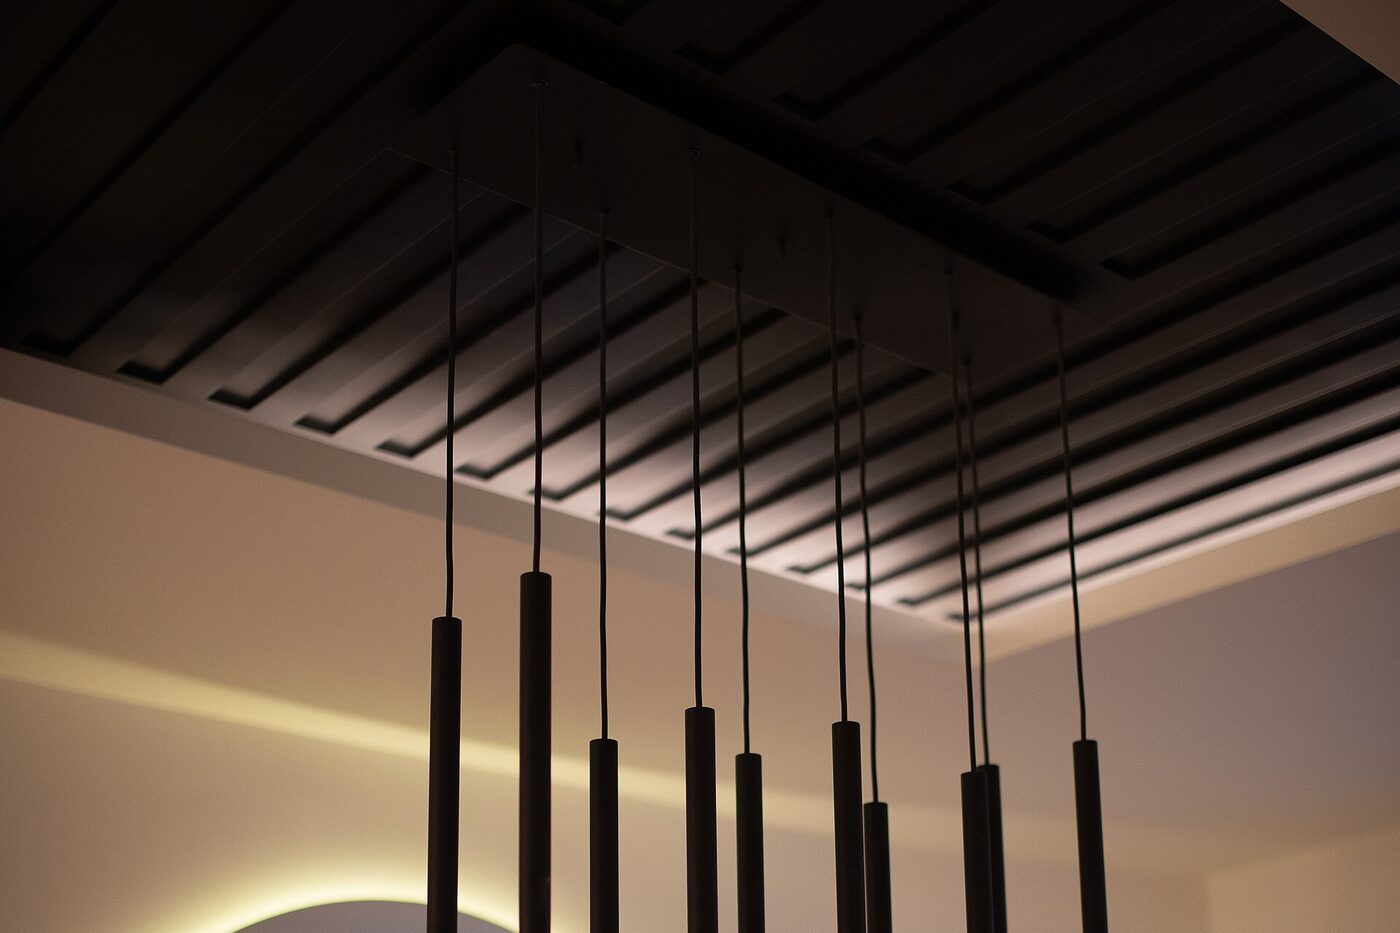
A render can produce this image without any of these fittings having an output, a beam angle or a supply.
What the model cannot know, in order of how much it costs you
Brightness is not a quantity to it. Lumens are the unit that matters, and no render carries any. A room described as "warm and cosy" gets painted warm and cosy whether the fitting you are considering puts out 200 lumens or 2,000. If you are trying to work out whether one floor lamp is enough for a living room, the render will always say yes.
Shadows do not have to agree. Look at any AI-lit interior for thirty seconds and check whether the shadow under the sofa, the shadow under the coffee table and the highlight on the wall are all consistent with one source. They usually are not, because there is no source. This is the fastest way to tell a painted render from a real photograph, and it also means the render cannot tell you whether a fitting will throw an ugly shadow across the thing you actually want lit.
Colour temperature drifts. Real rooms look wrong when the bulbs disagree, and it is one of the most common self-inflicted problems in a home: a 2700K lamp next to a 4000K downlight reads as one of them being broken. Renders blend and average across the frame, so a render will never warn you that the scheme you are copying mixes two temperatures.
There is no electricity in the picture. No socket, no switch, no junction box, no wall thickness for a cable. A render will put a floor lamp in the corner of a room where the nearest outlet is on the opposite wall, and a pendant in the middle of a ceiling with a single central rose already installed 80 cm away. Moving a ceiling point is a chased wall and a re-plastered ceiling. It is not a styling choice.
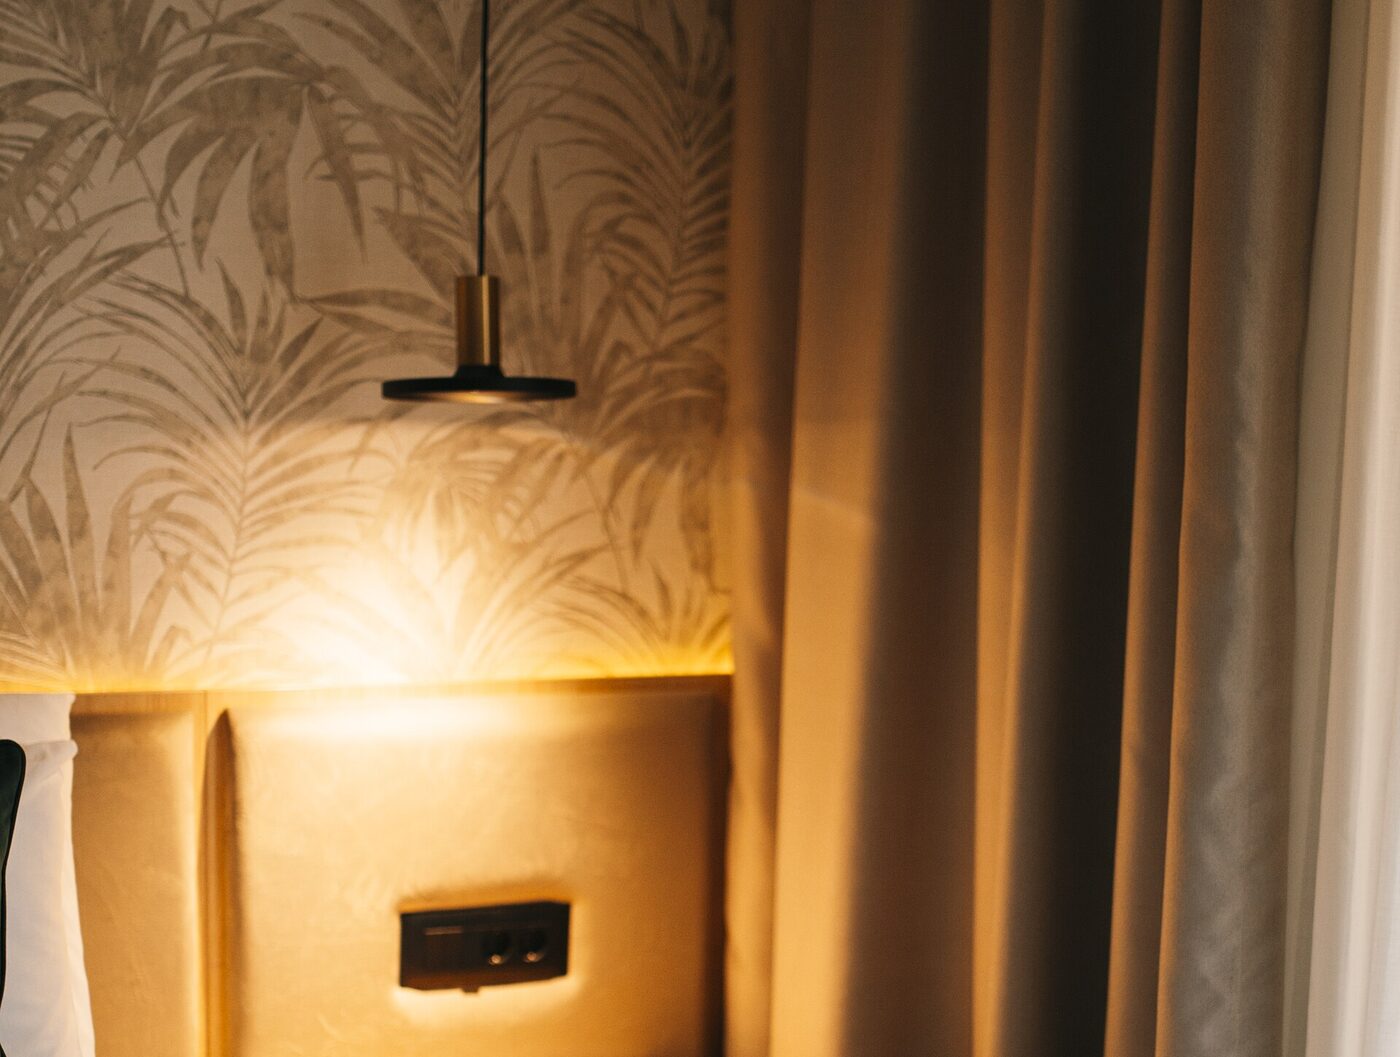
A real fitting doing a real job: a narrow downward wash, one colour temperature, and a socket where it is needed. All three are decisions taken before the room looked like this.
The heights and numbers that actually decide it
This is the part worth knowing, because it converts a vague render into a buyable plan.
A pendant over a dining table wants the bottom of its shade roughly 75 to 85 cm above the tabletop. Higher and it stops feeling like it belongs to the table, lower and people sitting opposite each other cannot see one another. Its diameter usually wants to be somewhere between a third and a half of the table width, and it belongs centred on the table rather than on the room, which is one of several numbers renders skip in AI dining room design.
A desk lamp is a different job again, because the competition is a window rather than the ceiling. Light wants to come across the desk from the side opposite your writing hand, and the screen wants the window to one side rather than in front of or behind it, which is the whole argument in AI home office design.
A reading lamp, floor or table, wants the bottom of its shade near eye level when you are sitting down, which for most people lands between 100 and 115 cm from the floor. Above that you get glare, below it you are looking straight into the bulb.
A bedside lamp follows the same rule against a sitting-up-in-bed eye level, which is why a beautiful low lamp on a high nightstand is such a common and irritating mistake.
Colour temperature. 2700K is the warm domestic standard for living rooms and bedrooms. 3000K is a reasonable kitchen and bathroom compromise. 4000K and above reads as an office, and dropping it into a living room is the single fastest way to make an expensively decorated space feel like a waiting area. Aim for one temperature per room, and a colour rendering index of 90 or better if colours matter to you, which in a room you decorated, they do.
Layers, not a single ceiling light. The reason well-lit rooms look expensive is that the light arrives from three or four places at different heights rather than one point in the middle of the ceiling. That is the actual design decision, and it is invisible in a render because the render paints the result of layering without any of the layers.
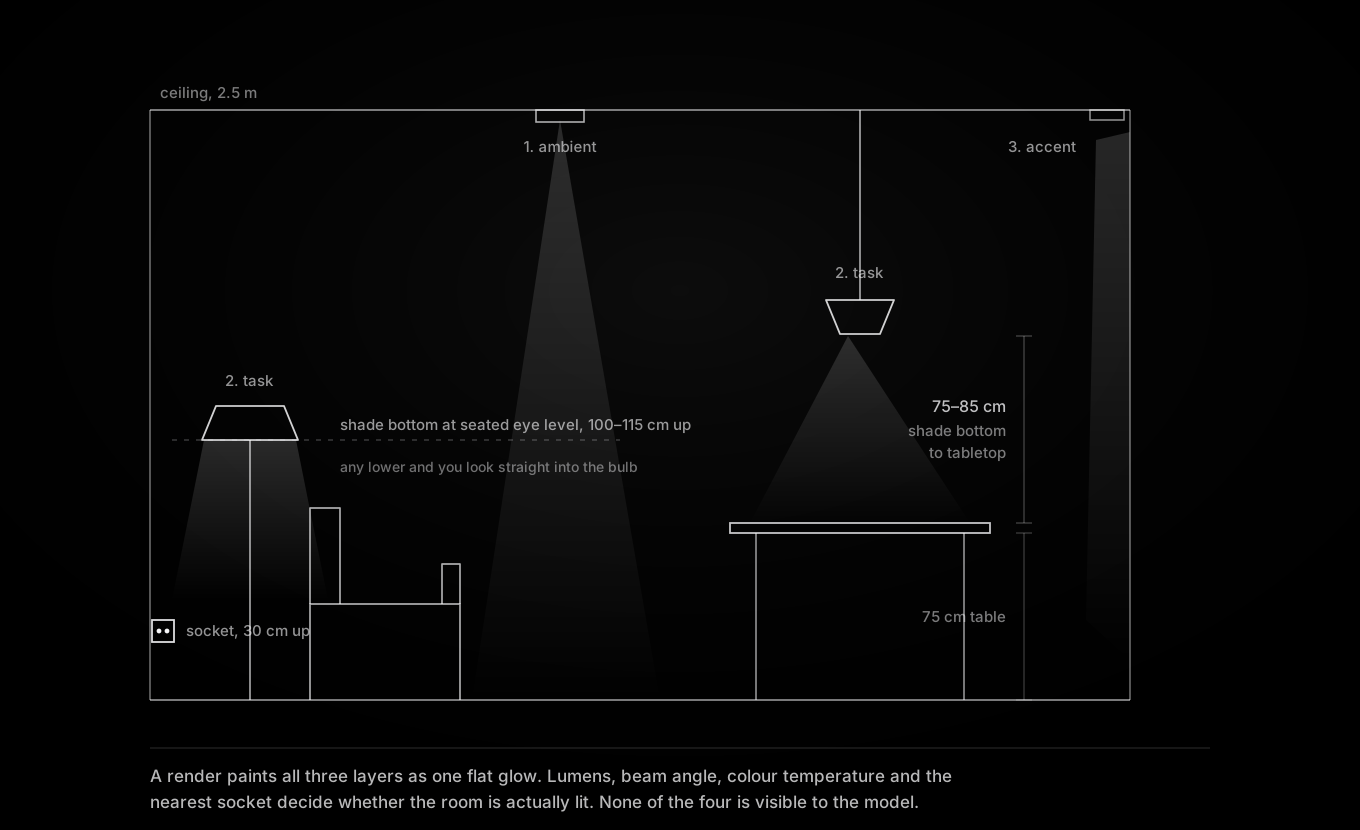
Three layers, three governing dimensions, and the supply that has to exist for any of it. A render paints all of this as one flat glow.
Watch what changes in a before-and-after like this one and what does not. The fittings, finishes and mood change convincingly. The room's real light behaviour, which is set by the window, the ceiling height and where the supply is, comes from the original photo, and that is precisely why restyling a real photo beats generating a room from nothing.
So what is it genuinely good for
Fixture scale against your ceiling. Whether a large pendant is right depends almost entirely on your ceiling height and your table size, and that is a proportion judgement you can only make by seeing it. This is the strongest single use.
How many. One pendant or three over the island. A pair of matched bedside lamps or one asymmetric arrangement. These are compositional questions with visual answers.
Finish and form. Brass against matte black against opal glass, in your room, next to your existing metals. Cheap to test, expensive to get wrong.
Making the case for a dark scheme. A deep-coloured room with pools of lamplight is a decision most people will not commit to on faith. Seeing it applied to their own walls is what unsticks it. Related: why AI renders make north-facing rooms look sunnier than they are.
Mood direction, honestly labelled. As a picture of the atmosphere you are aiming at, a render is genuinely useful to hand to an electrician or a designer. As a specification, it is empty.
Treat a lighting render like a photograph of a room you liked in a magazine. Inspiring, worth keeping, and containing no information about how it was lit.
A short method that works
Photograph the room in the evening with your current lighting on, not in bright daylight, because the evening state is the one you are trying to fix and it is the one that shows how dark the room really gets. Restyle from that photo. Compare fixture options rather than whole rooms, changing one thing at a time.
Then leave the render behind and do the boring part. Mark every socket and switch on a rough plan. Decide the one colour temperature for the room. Add up the lumens across the fittings you are considering rather than trusting a picture. Check the pendant drop against your table height and the shade height against your seated eye level. Put anything you can on a dimmer, because the ability to take a room down to a quarter output at night does more for how it feels than any single fitting you can buy.
Questions people ask about AI and lighting
Can an AI render tell me if a lamp is bright enough for my room?
No, and this is the most common disappointment with lighting renders. The image has no lumen figure behind it, so the same room is painted "warm and inviting" whether the fitting outputs 200 lumens or 2,000. Add up the real lumens of the fittings you are considering, and use the render only to judge how they look. More on this in will an AI render show how bright a lamp will be.
Why do AI room renders always look better lit than my room?
Because the training data is overwhelmingly professional interior photography, which is lit with equipment your ceiling does not have. Under any uncertainty the model drifts toward that reference, so your dim November living room comes back looking like a magazine shoot. Photograph the room in its genuinely dim state and treat the render's brightness as a best case.
Can AI help me decide between one pendant and three?
Yes, this is a good use of it. Quantity, spacing and scale against your ceiling height are visual questions with visual answers, and seeing them over your own table settles the argument fast. Just take the mounting height from a tape measure rather than from the picture.
Will the render show me where I need a socket?
Never. Sockets, switches, ceiling roses and cable routes do not exist inside an image model, so it will happily place a floor lamp in a corner with no outlet and a pendant a metre from your existing ceiling point. Mark your supply on a plan first, then let the render work within it.
The one place where lighting and decoration meet is the wall itself, since a picture light or a well-aimed spot is half the reason a hang looks deliberate, and the height it points at is a measurement rather than a mood. That side of it is in AI gallery walls and art placement.
The summary worth remembering: lighting is the part of interior design with the most physics in it and the least of that physics visible in a photograph. That combination makes AI renders unusually convincing and unusually uninformative here. Use them to choose objects, which they are good at, and keep the actual lighting design in lumens, temperatures and socket positions, where it belongs.
Image credits: "Modern pendant lights illuminate minimalist interior design in stylish dining area during evening hours" and "Cozy hotel room with warm lighting and refreshments on a small table" by Shixart1985, licensed CC BY 2.0, via Wikimedia Commons. Diagram by MeltFlex Solutions.